Simple Ways to Enjoy Your Garden All Year Long
Preserving the Harvest
Saving the Best of the Garden

Finding Joy in the Process
I used to feel so intimidated by the idea of canning. The heavy pots, the precise timing, the fear of doing it wrong - it felt like a mountain I wasn't ready to climb. For years, I stuck to what I knew: freezing garden vegetables and drying herbs in bunches around the kitchen. But as my garden grew, so did my desire to keep that harvest around a little longer. I started small, learning water bath canning again with simple jams and pickles. What I found wasn't a stressful chore, but a quiet, rhythmic way to honor the hard work of the growing season. There is a specific kind of peace found in a row of neatly labeled jars and freezer bags, knowing your family will be eating from the garden long after the first frost hits.


❄️ Freezing Garden Vegetables
The quickest way to preserve your peak-season harvest. Freezing locks in nutrients and flavor with minimal hands-on time.

The Blanching Secret
Most vegetables need a quick dip in boiling water followed by an ice bath to stop enzymes that cause color and texture loss.

Sealing for Success
Remove as much air as possible to prevent freezer burn. Vacuum sealers or the water displacement method work beautifully.

Label and Layer
Freeze bags flat first, then stack vertically like files. Always label with the vegetable type and the date of harvest.
Drying Herbs for Winter
There’s something incredibly satisfying about reaching into the pantry in the middle of winter and cooking with herbs you grew yourself just a few months earlier.
Drying herbs is one of the easiest ways to preserve your garden harvest. It doesn't require special equipment, and with just a little patience, you can enjoy fresh garden flavor all year long.
Simple Steps for Drying Herbs
1. Harvest at the Right Time
For most herbs, the best time to harvest is in the morning after the dew has dried but before the sun is at its hottest. This is when the essential oils are most concentrated, giving you the best flavor.
4. Bundle, Tie and Hang
Gather small groups of herbs (4-6 stems usually work best) and tie them together at the base with simple kitchen twine. Use a rubber band first if you're worried about them shrinking as they dry.
2. Clean and Coddle
Gentle handling is key. Give your clippings a quick rinse in cool water and a very gentle shake to remove excess moisture. Patting them dry with a clean kitchen towel works beautifully too.
5. Drying Rack
Place your herbs on a single layer on a drying rack in a dark space (a pantry works well) out of direct sunlight. Good air circulation is vital to prevent mold.
3. Remove Lower Leaves
Strip the leaves from the bottom inch or two of the stems. This provides a clean area for bundling and prevents those lower leaves from becoming crushed or trapping moisture.
6. Test for Dryness
Depending on the herb and the humidity, drying can take anywhere from a few days to two weeks. Your herbs are ready when they feel crisp and crumble easily between your fingers.
Herbs That Dry Well

Basil

Parsley

Oregano

Thyme

Rosemary

Sage

Dill

Mint

Chives
A Few Things I've Learned
“Airflow is your best friend when drying herbs; don’t crowd the bundles.”
“Always label your herb jars immediately—dried oregano and dried mint can look surprisingly similar!”
“Keep your dried herbs in a cool, dark place to preserve their color and potency.”
“If an herb bundle smells musty at all, it's better to compost it and try again.”
“Crush your dried herbs just before cooking to release the most flavor.”
Winter Pantry
Whenever I crack open a jar of herbs in December, the scent fills the kitchen and takes me right back to a sunny August morning in the garden. It's a small way to keep a bit of summer with us all through the long, quiet months of winter.


My Favorite Preserving Tools
Essential gear to help you preserve the seasons with confidence and ease.

Vacuum Sealer
Perfect for long-term fresh freezing.
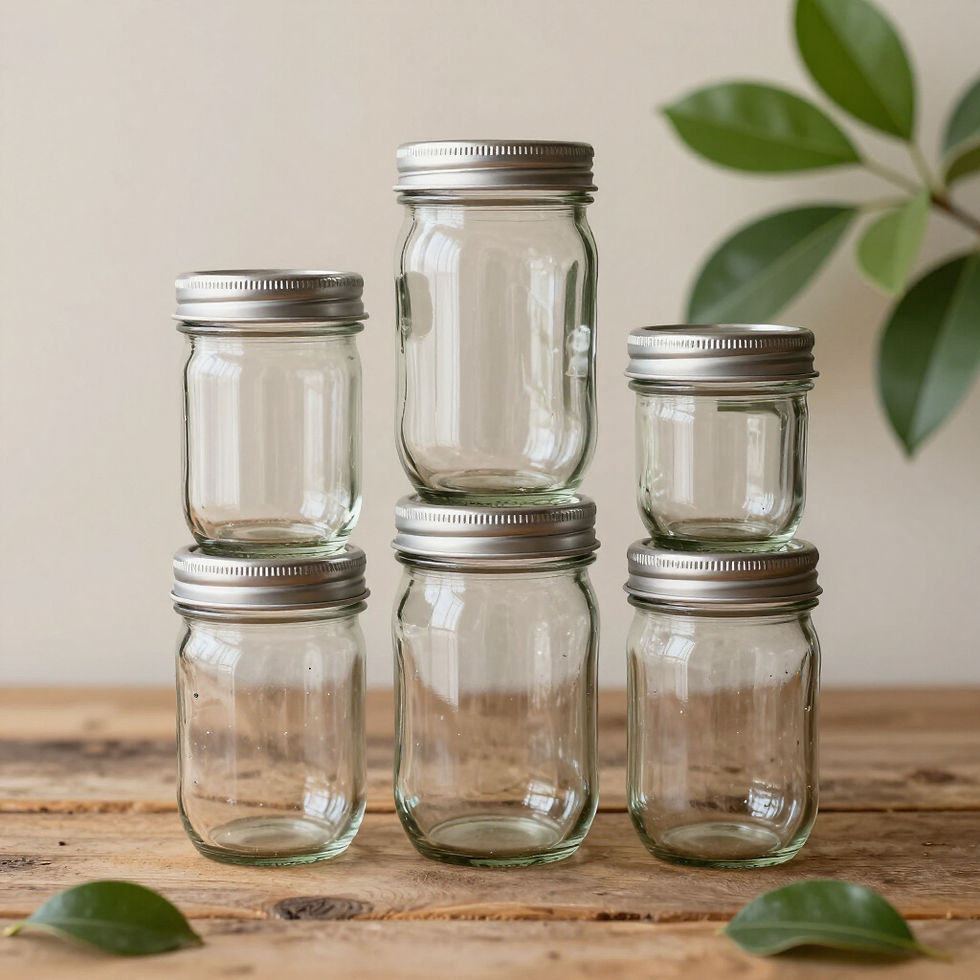
Mason Jars
The foundation of every pantry.

Water Bath Canner
Essential for high-acid foods.

Jar Lifter
Safely handling hot jars.

Canning Funnel
Keep jar rims clean and clear.

Bubble Remover
Removing air for a perfect seal.

Labels & Marker
Always know what's in the pantry.

Freezer Bags
Heavy duty for garden fresh freezing.

Salad Spinner
Clean and dry herbs and greens.

Dehydrator
The best way to dry herbs and fruit.
Before You Start Preserving...
✨
Start with the freshest produce from your garden or local market.
🏷️
Label everything with the contents, method, and date.
🍱
Freeze in meal-sized portions to minimize waste.
📖
Keep a notebook of what you loved (and what you didn't) for next year.
⏱️
Preserve within 24 hours of harvest for optimal flavor and nutrients.
📜
Don’t skip or tweak tested safe recipes—especially for canning.
🌿
Dry your herbs just before they flower for the most potent oils.
From My Garden to Yours
There is a special kind of joy that comes from opening a jar of summer tomatoes or a bag of garden peas in the middle of January. It’s a reminder of God’s abundance and the beauty of working with our hands. My hope is that as we learn to preserve the harvest together, your pantry and freezer become a source of comfort and connection for your family. I am so glad you are on this journey with me - from the first seed planted to the very last jar labeled.
With love and a grateful heart,